skip to main |
skip to sidebar
 Day 4
Day 4
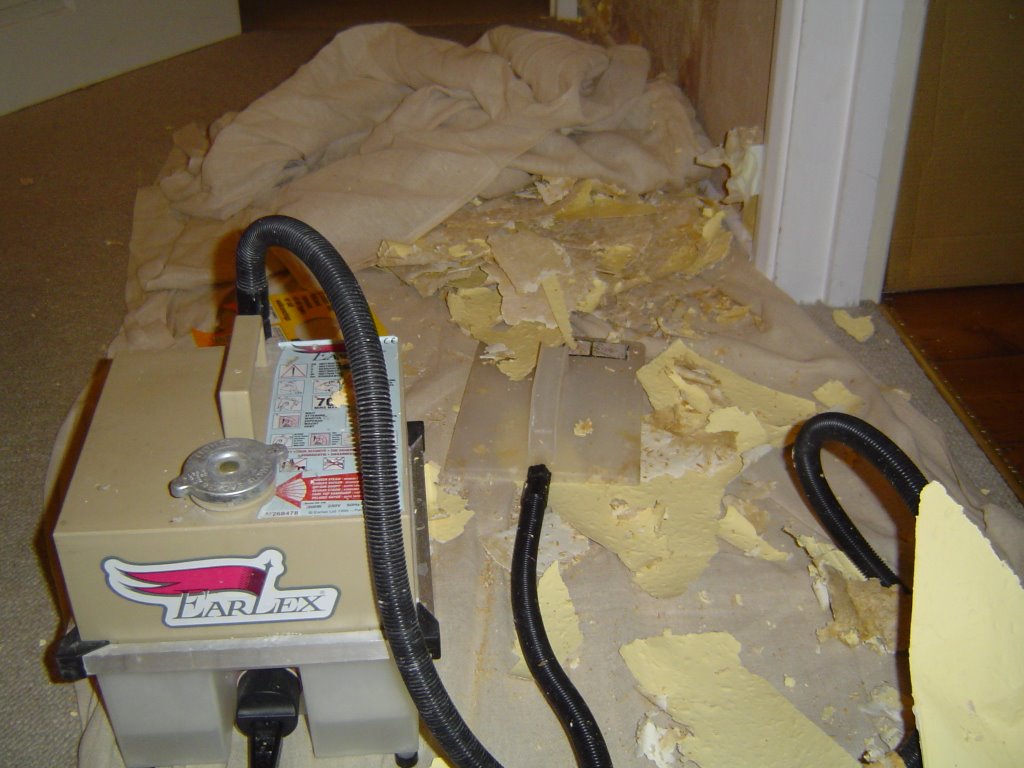
We carried on stripping the wall with a door to the front room. This was a piece of cake compared to stripping the chimney wall. As you can see from the picture, it's clearly a different type of wall. It is in fact plaster board and it's a swine to strip. We've stripped it down to the chalky layer, so fingers crossed that it can be replastered (I've been told plasters can re-plaster anything).
The chipwood wallpaper was so well glued meant that we could not strip it off and leave the papery layer of the plasterboard on.
This plasterboard material also produces a load of dust when you're scraping. We've found that cleaning up after every stripping session (ahem!) makes life easier.
 This day also proved to be eventful as our old steamer packed in. So I nipped off to B&Q to get a new steamer.
This steamer shaped like a dog cost us about £30 and it's decent, though it does leak a bit after about 30 mins of use; should've bought a Bosch steamer (though the one they had there was not as powerful as this Black & Decker number).
It' now a matter of time before we start stripping the wall with the long radiator on which means that I am going to have temporarily remove the thing...
Looking at my nifty geo-tracker (see the bottom of my blog), it's apparent that people from all over the world are looking at my (very humble) blog.
It's impressive that I can even see the towns where the people who look at my blog live!
I want to know whether it is only Britain which has evil woodchip wallpaper?
If you don't know what this stuff is, it's wallpaper which has small bits of wood embedded into it. It was popular in the 1970's; Why I don't know!
 Day 2
Day 2
We choose to start taking wallpaper off the wall which looked in the worst condition; hence we choose the wall with the window.
I was interested to see what we'd find underneath the paper, as I'd read stories of there being lots of layers of wallpaper from generations gone by. Starting near the floor the paper came off very easily, exposing pink plaster which was in a very good condition (to be honest it looked brand new).
We stripped away, but then half way up the wall we found that removing the wallpaper started exposing more yellow woodchip wallpaper :( What I found even more harrowing is that it appeared that the previous owners had put this new looking plaster on top of a layer of woodchip wallpaper. I'm no expert decorator but to me that seems very dodgy.
At the edges of wall we had to be careful as the plaster is at its weakest there, and quite a lot of it was cracking off :s
The dark yellowcoloured patch on the wall which has been stripped is the residual wallpaper glue, and it is a swine to remove. We are hoping that the steamer will make short work of it.
The fruits of about 2 hours of labour can be seen in the picture (yes, not much progress in 2 hours!)
 Day 1
Day 1
Once my girlfriend finally convinced me that we should get rid of the woodchip wallpaper in our new living room, I started my research.
I was quite apprehensive to start as I had heard so many horror stories about this kind of evil wallpaper. As you can see from the picture the room didn't look too bad, but the ugliness dawns on you when you take a closer look.
What I found to be a good buy is a Readers Digest DIY manual, as it gives you some tips on how to go about decorating your house. It also indicated that the following tools would help:
- Wallpaper steamer
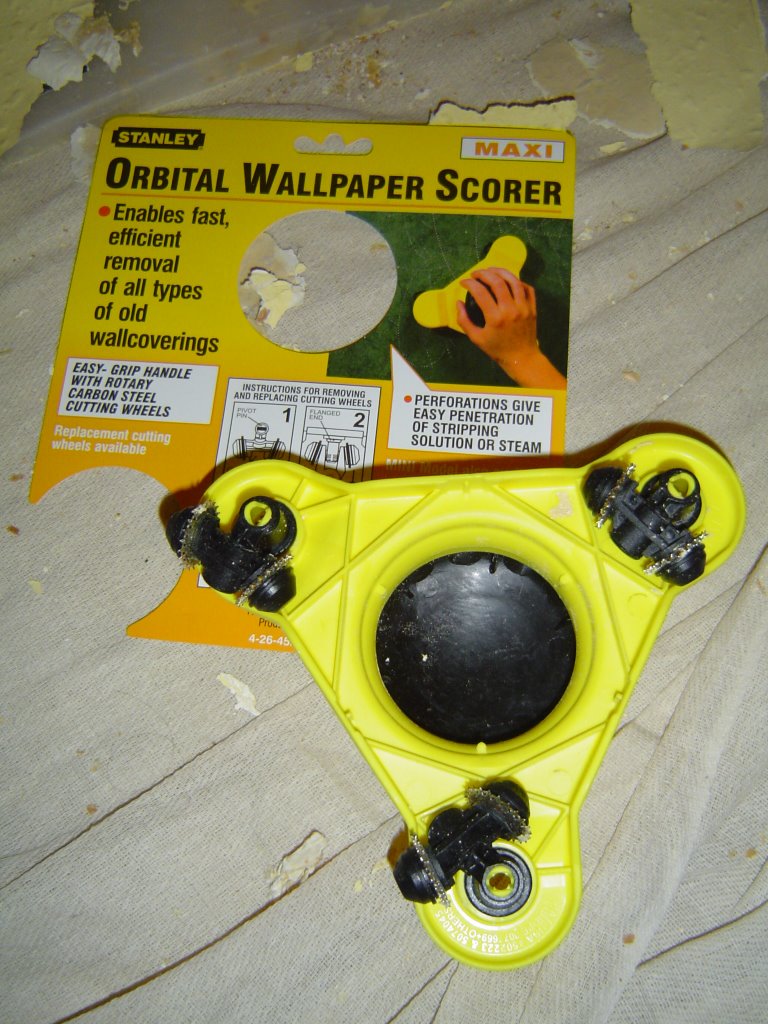
- Paper tiger (a mean looking gadget with multiple wheels with serrated wheels)
- masks
- gloves
- scraping tools
So off to B&Q I went to get these possible Godsends!
Just finished adding a tracker so I can see the hapless web-surfers who stumble upon my rather feeble attempt at a blog.
Also added a mini poll to see what type of wall decor people generally prefer. I can guess which one will be more popular...
Tomorrow I'll start adding postings which detail my decorating exploits.
My first ever blog entry!
However the length of this entry is short as I'm using it to test my templates!
Be right back...
 Day 4
Day 4 This day also proved to be eventful as our old steamer packed in. So I nipped off to B&Q to get a new steamer.